 ( 172 ) 4-Dec-2015
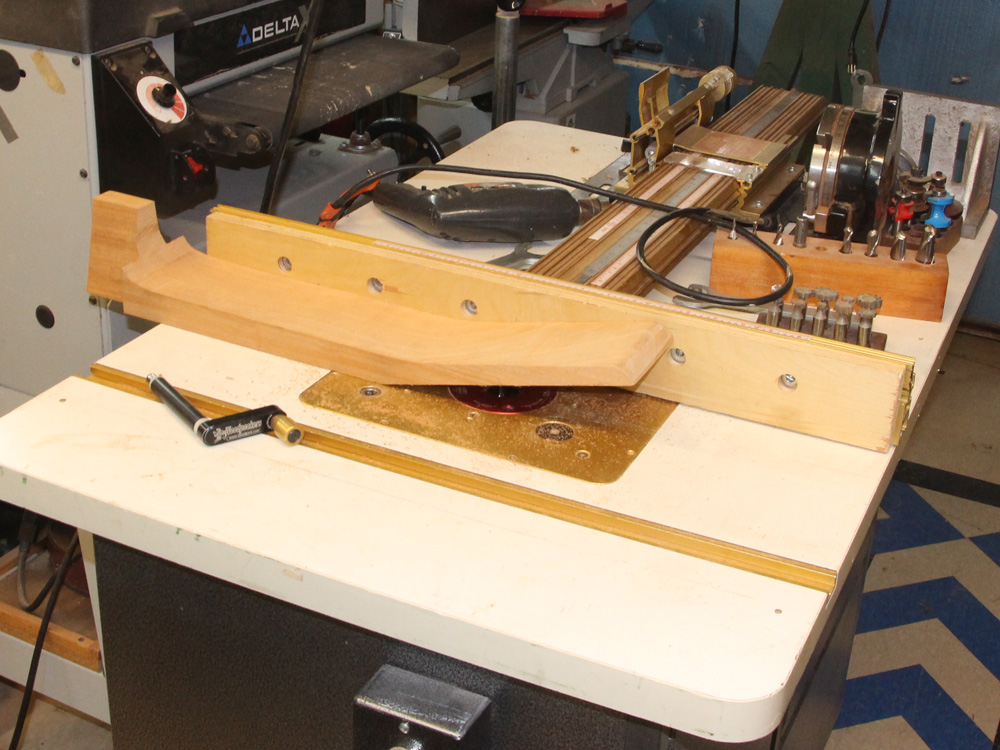
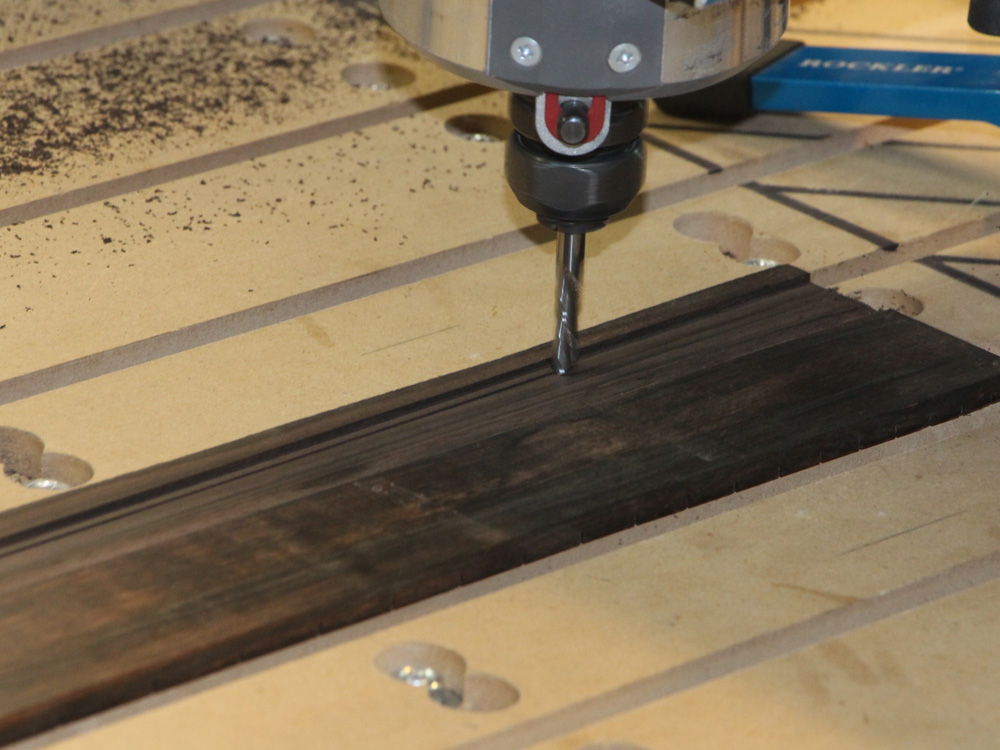
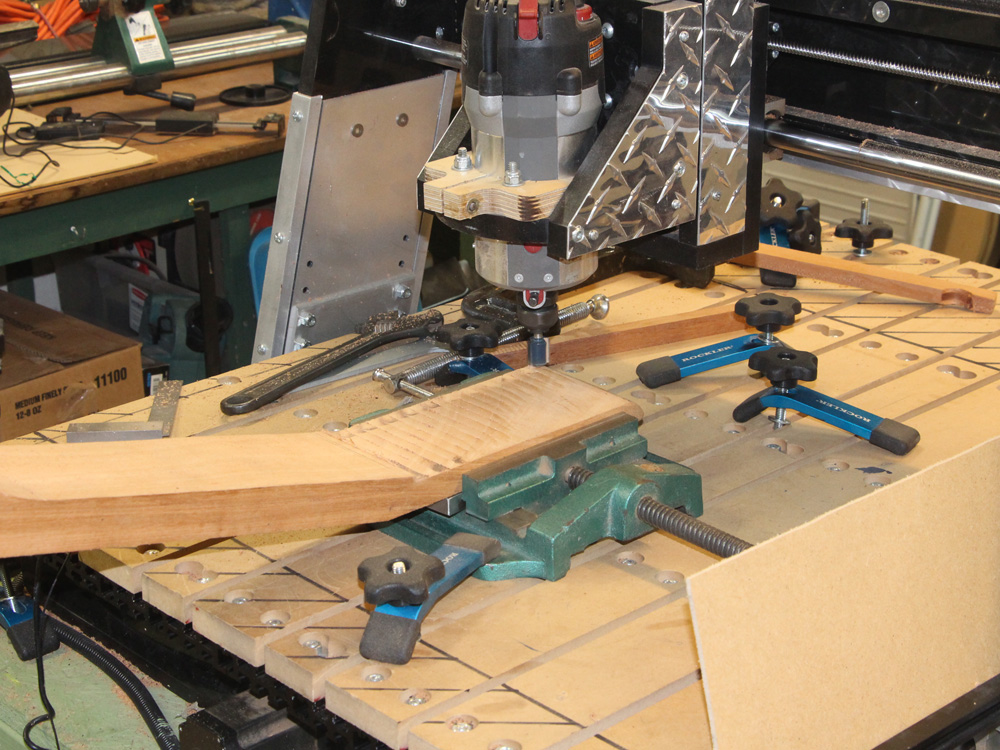
I set up my router table to create a channel for the dual action truss rod in the neck blank.
( 172 ) 4-Dec-2015
I set up my router table to create a channel for the dual action truss rod in the neck blank.
 ( 173 ) 4-Dec-2015
 ( 174 ) 4-Dec-2015
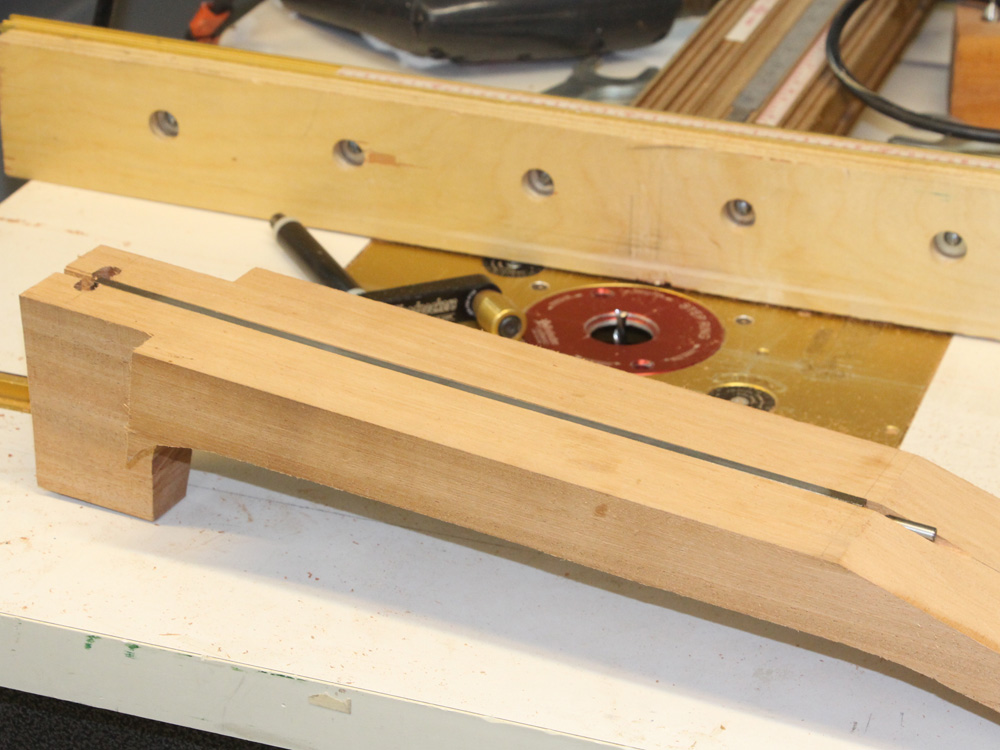
This rod has the amazing ability to bend with considerable force in both a positive and negative direction. This will let us cancel out any bend in the neck caused by the substantial tension from the 18 strings, or more mysterious sources.
 ( 175 ) 4-Dec-2015
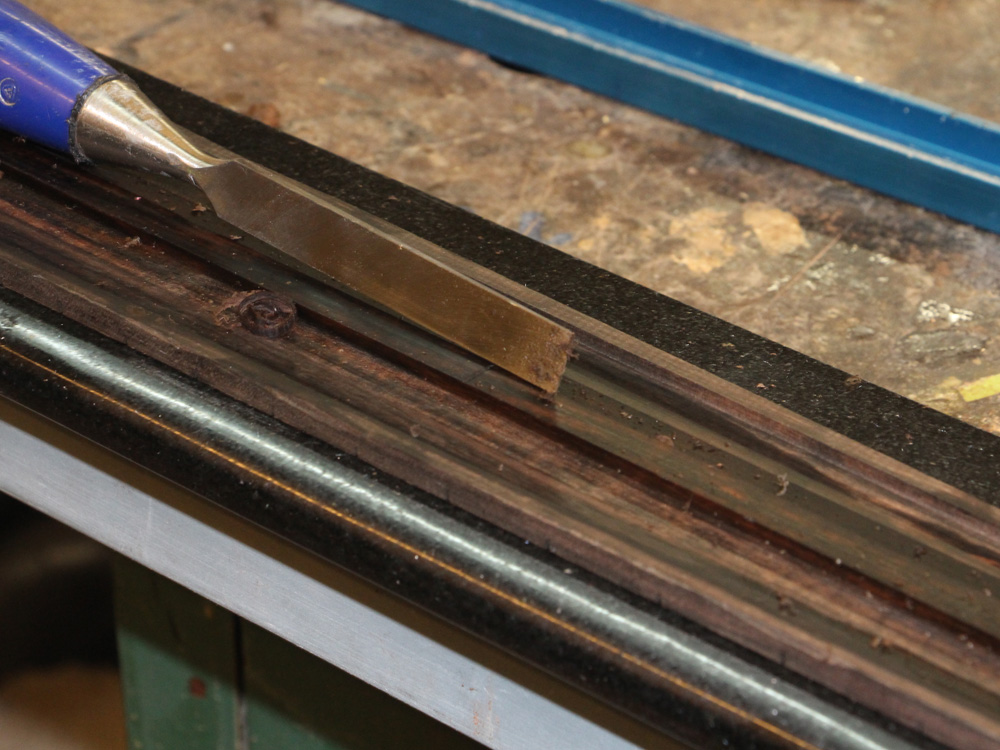
Here I am creating a channel for the cantilevered fretboard support plate.
 ( 176 ) 4-Dec-2015
 ( 177 ) 4-Dec-2015
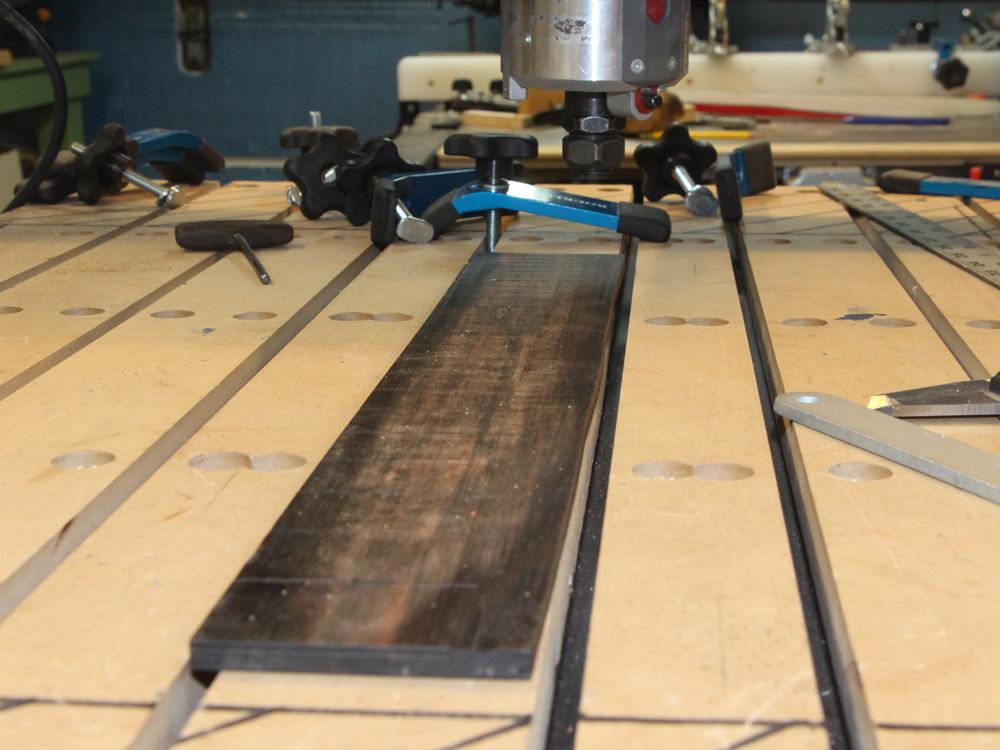
Now I turn my attention to the fretboard. I am using the CNC-Rtr and a very small endmill to create fretwire slots that stop at the B string.
 ( 178 ) 4-Dec-2015
And then I turn the blank over to route out the channels for the sympathetic strings.
 ( 179 ) 4-Dec-2015
 ( 180 ) 4-Dec-2015
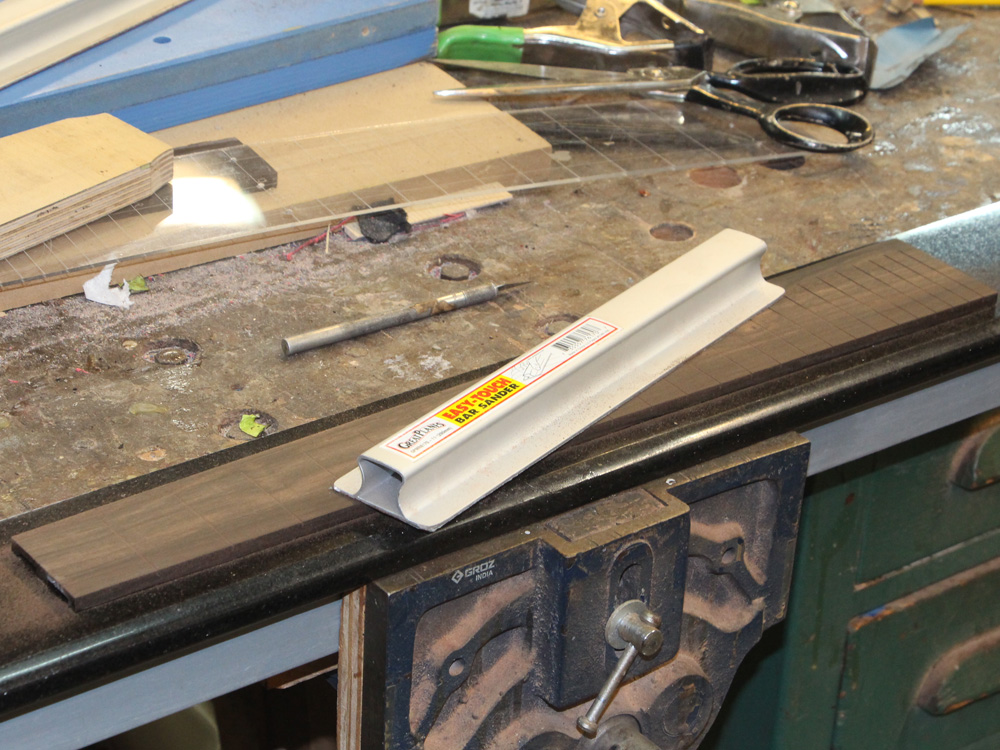
The top surface gets a radius and is leveled with special -very flat- sanding blocks.
 ( 181 ) 4-Dec-2015
After the fretwire is installed (sorry, I forgot to take pictures) I trim the fretboard to the exact size I want.
 ( 182 ) 4-Dec-2015
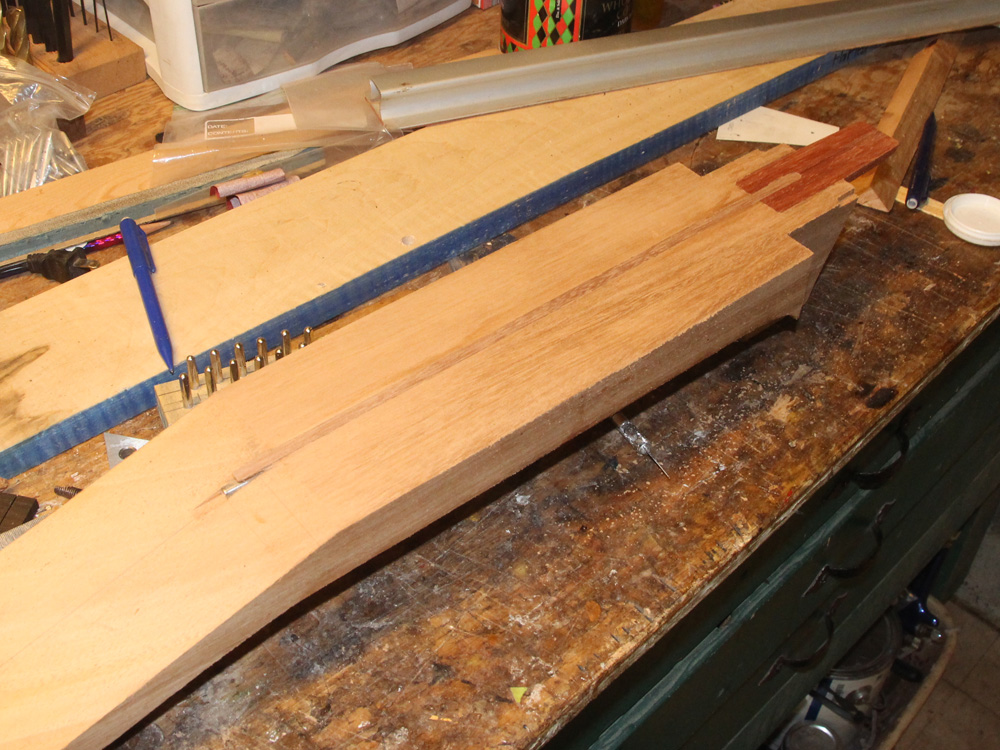
In a fit of 3 AM redesign I decided to install a plate on top of the truss rod to help distribute its force more effectively.
 ( 183 ) 4-Dec-2015
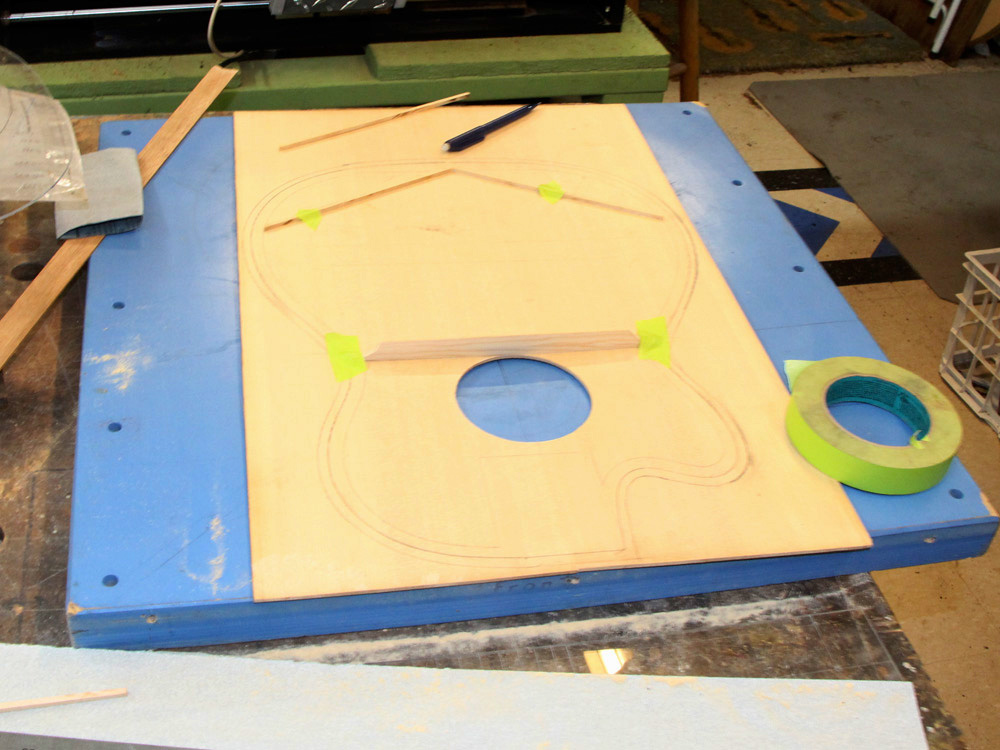
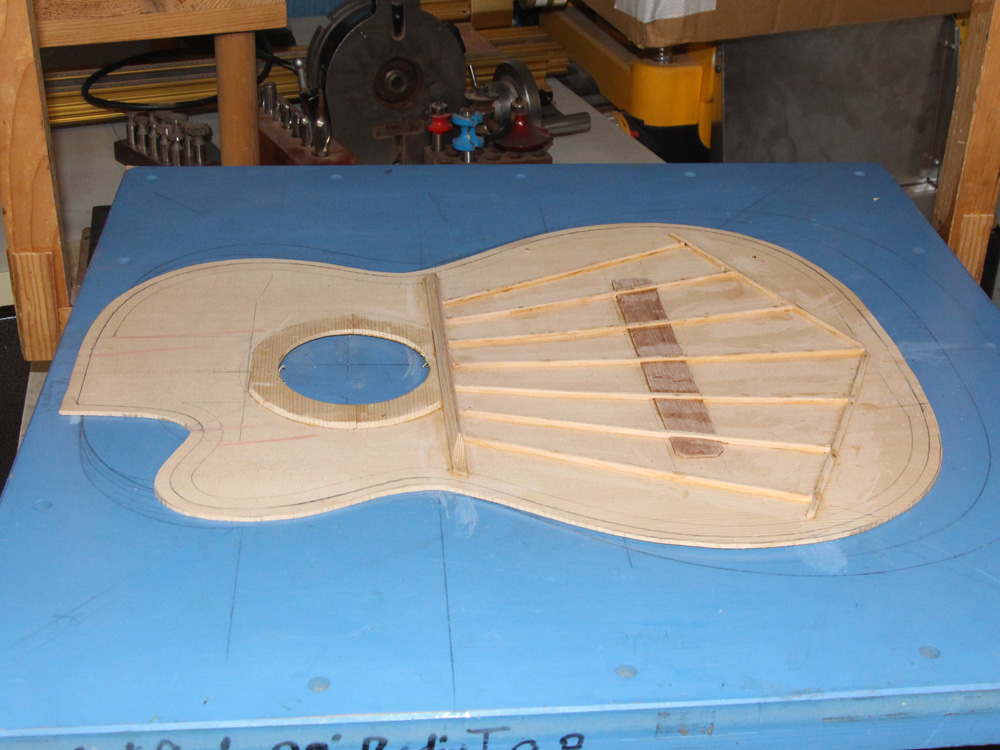
Now I start on the braces for the top plate.
 ( 184 ) 4-Dec-2015
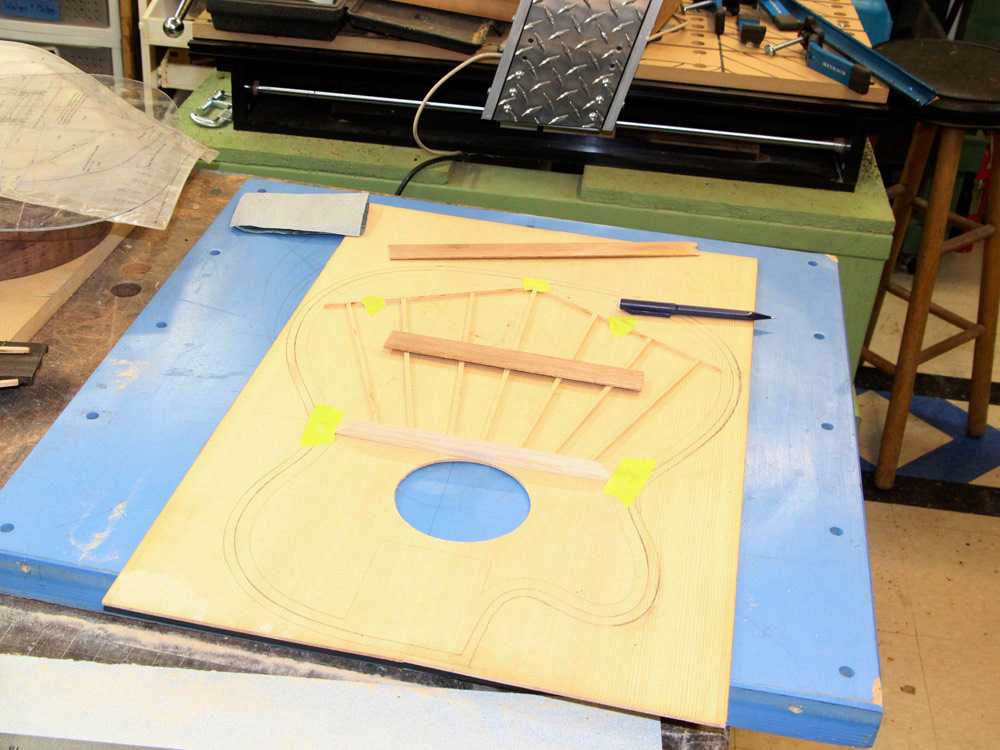
One by one each brace is carefully cut and fitted into place.
 ( 185 ) 4-Dec-2015
 ( 186 ) 4-Dec-2015
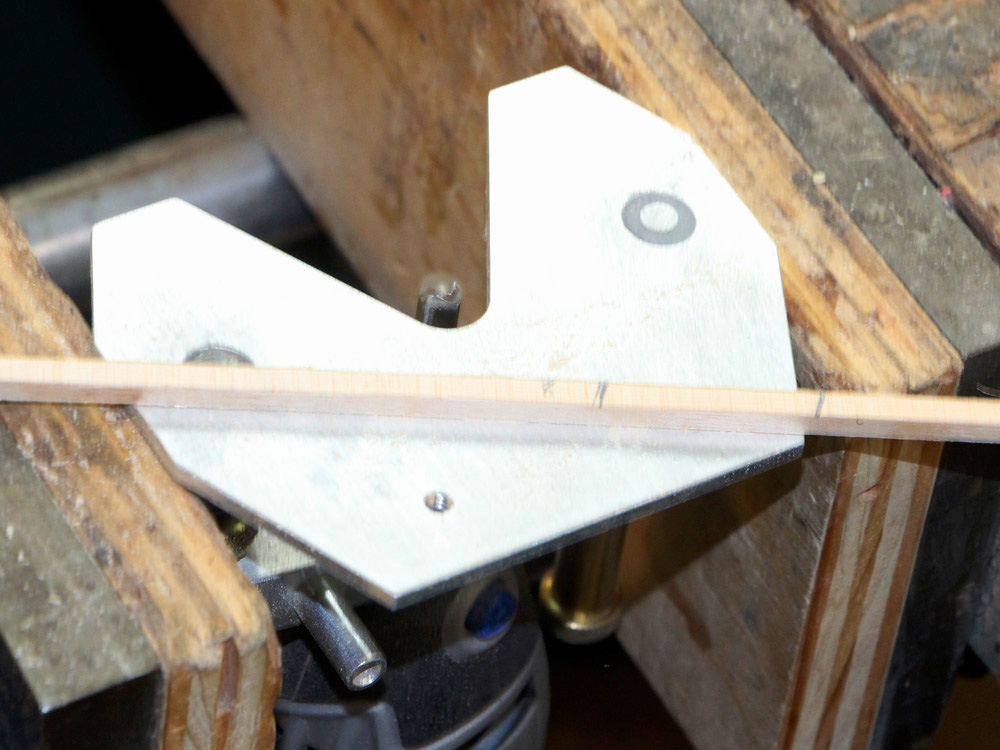
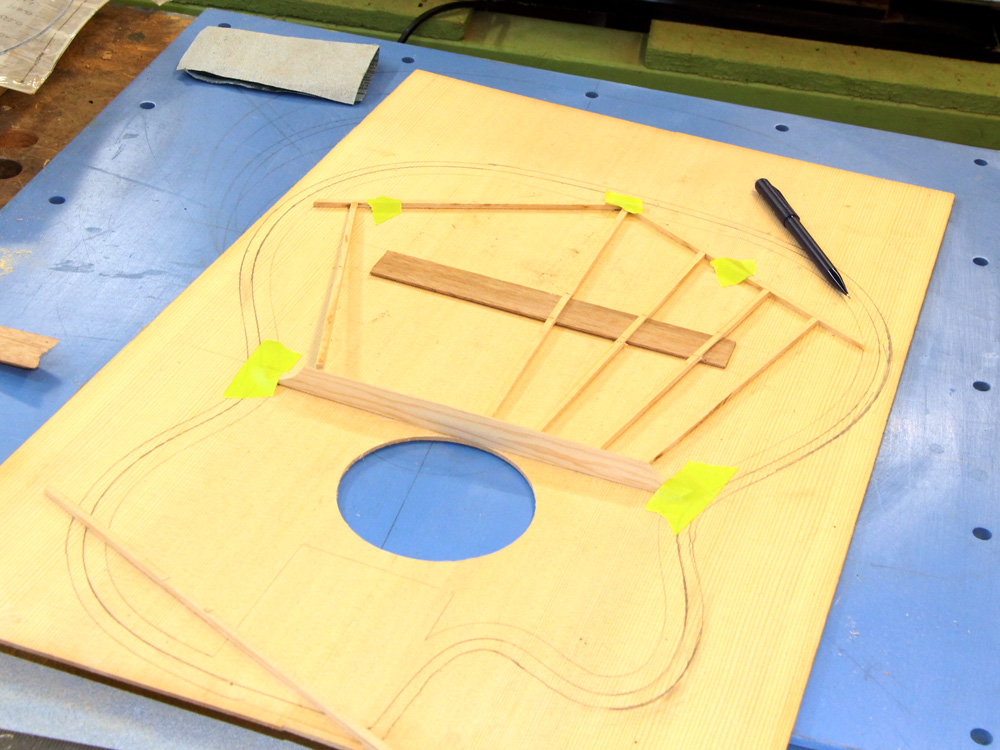
I use a small trim router to make way in the braces for the bridge plate.
 ( 187 ) 4-Dec-2015
If I get it right there are no gaps between the braces and the bridge plate.
 ( 188 ) 4-Dec-2015
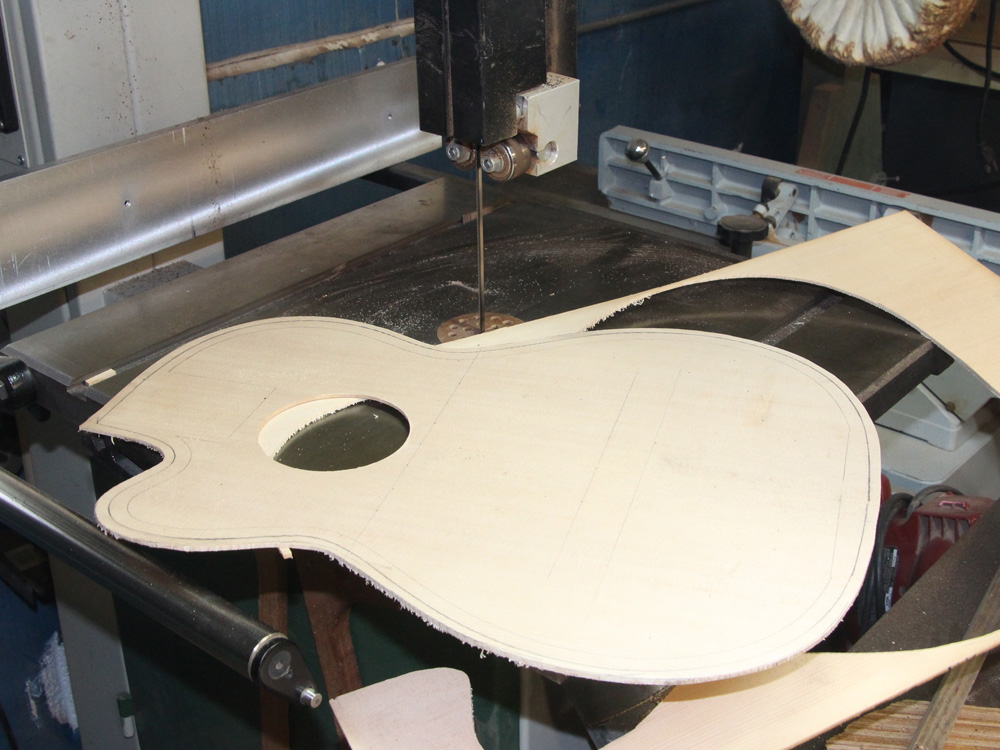
I use the bandsaw to cut out the top plate.
 ( 189 ) 4-Dec-2015
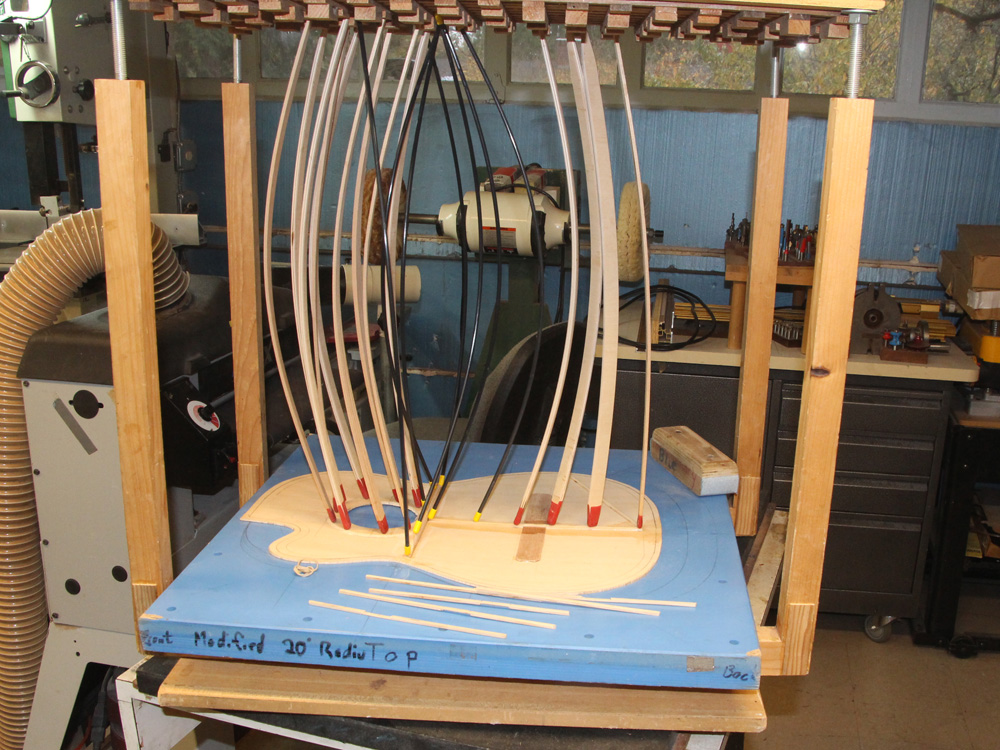
And then I start to install the braces with my go-box.
 ( 190 ) 4-Dec-2015
 ( 191 ) 4-Dec-2015
 ( 192 ) 4-Dec-2015
The next morning after everything is dry.
 ( 193 ) 4-Dec-2015
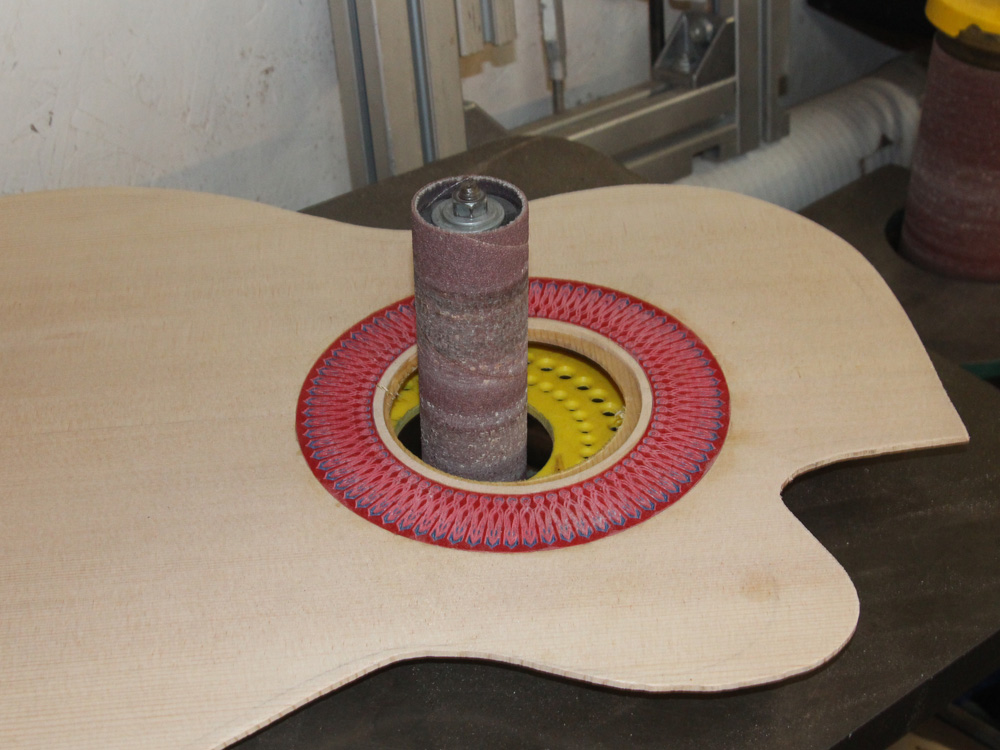
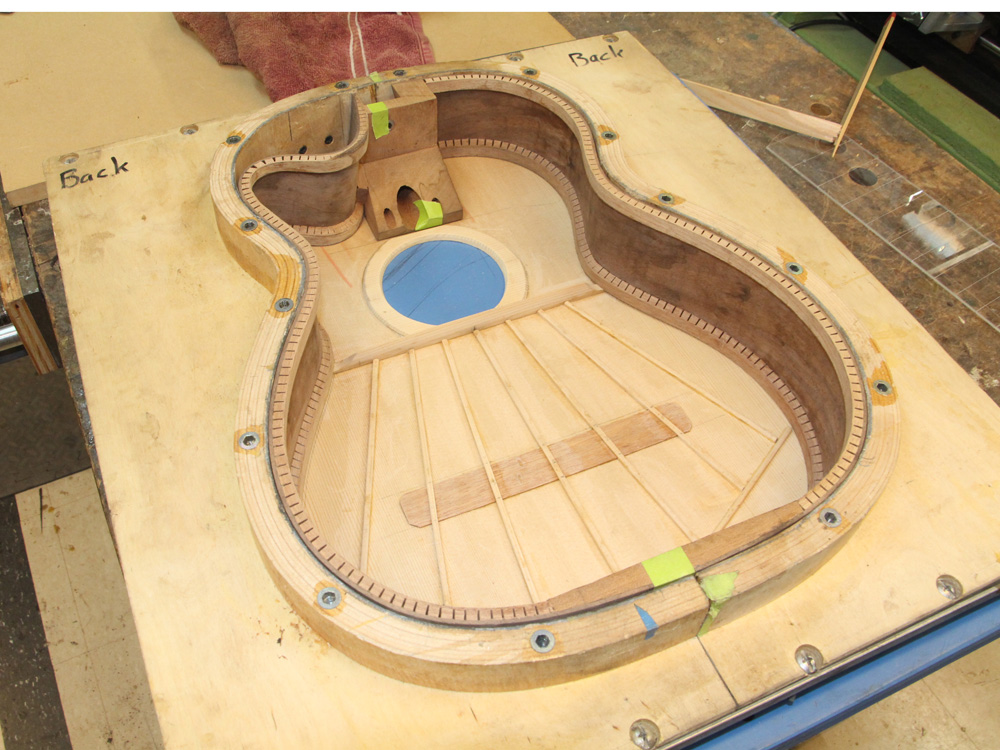
I use the oscillating sander to trim up the inside of the sound hole. This makes the two layers of spruce to line up perfectly. I will eventually sand the underside ring so it can't be seen.
 ( 194 ) 4-Dec-2015
Everything fits! Hurray!
 ( 195 ) 4-Dec-2015
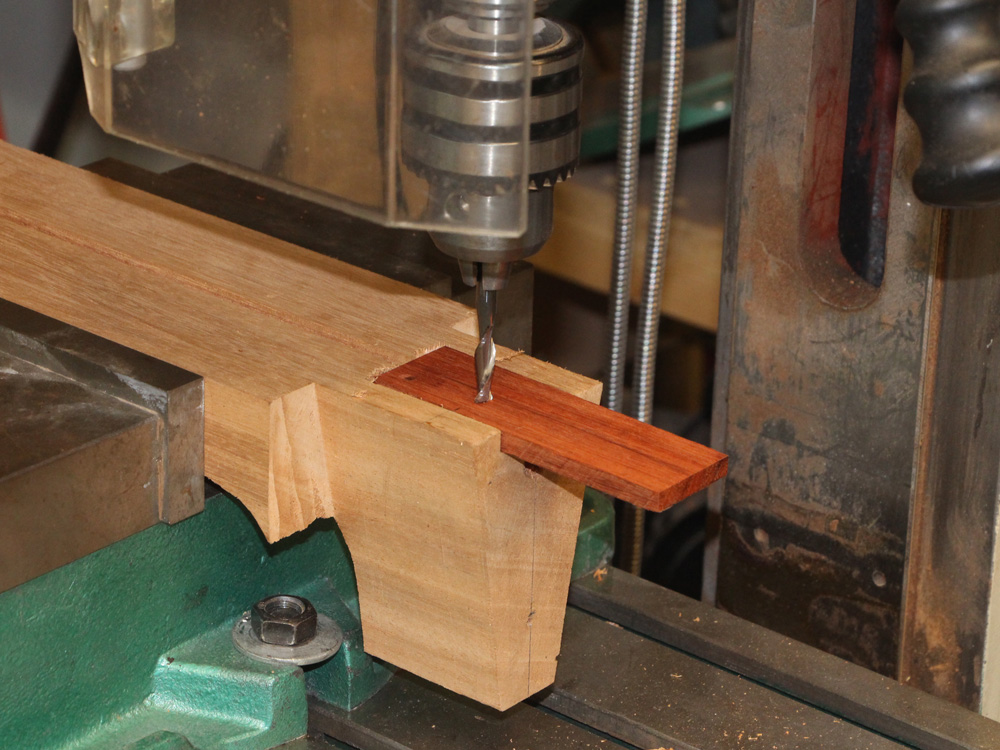
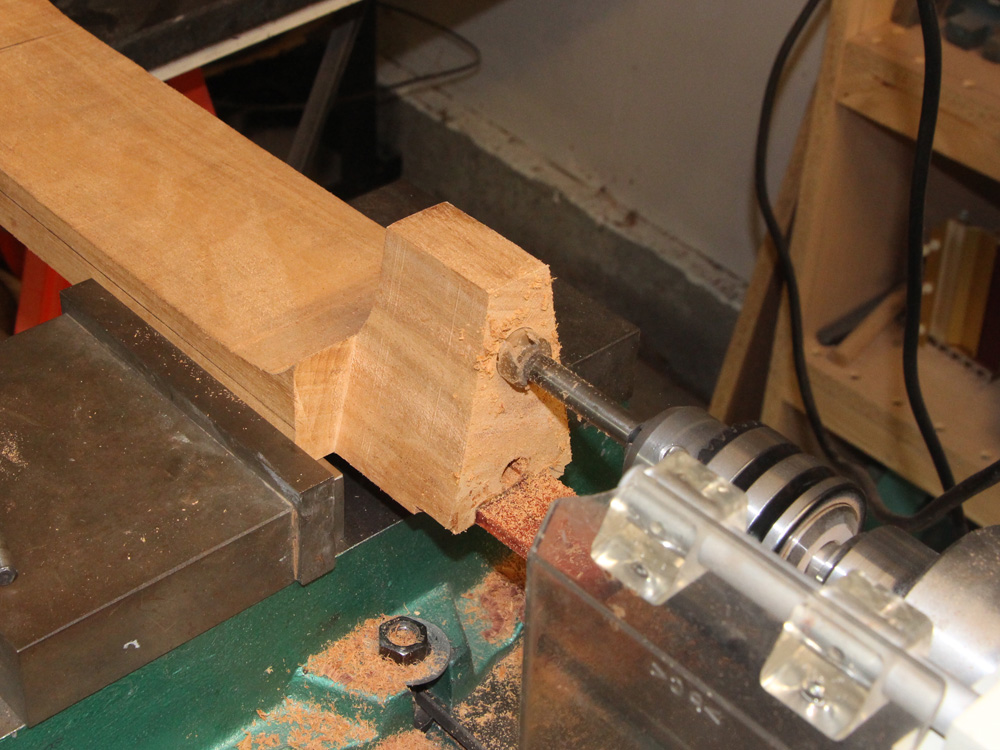
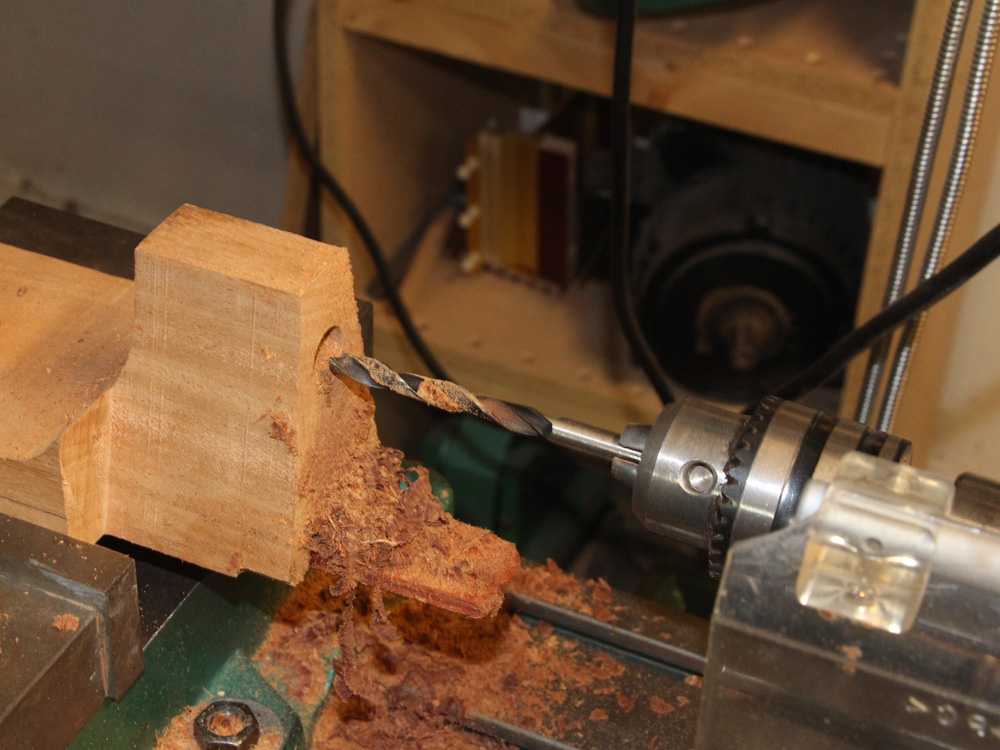
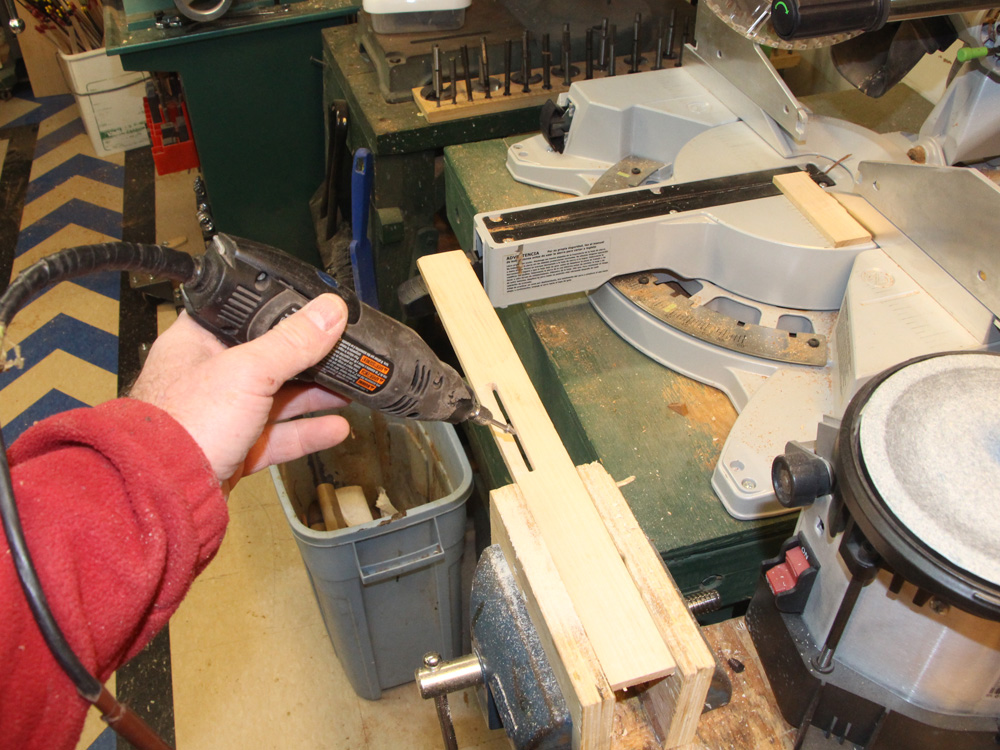
In this picture I am drilling the hole for the neck angle adjustment hardware.
 ( 196 ) 4-Dec-2015
I drill a hole entirely through the heel to provide access for an adjustment tool.
 ( 197 ) 4-Dec-2015
Here I am using the CNC-Rtr to make the bottom of the headstock flat and the proper thickness.
 ( 198 ) 4-Dec-2015
And then I do the same to the throat.
 ( 199 ) 4-Dec-2015
Here I am creating a channel in the sympathetic string support plate.
 ( 200 ) 4-Dec-2015
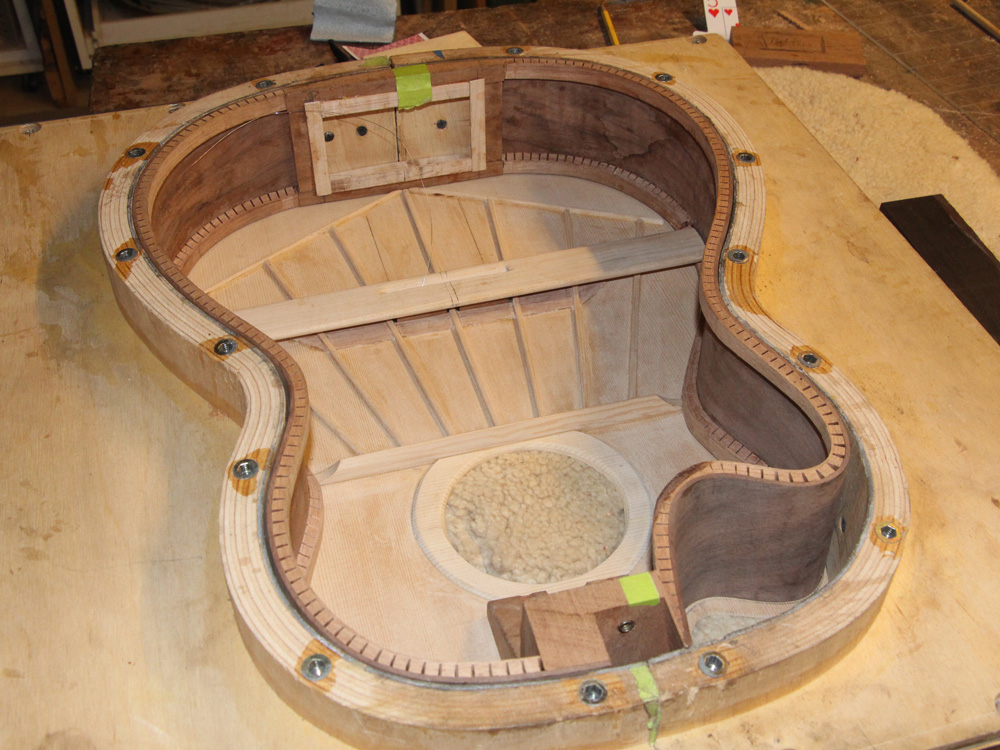
This guy goes inside the body floating below the top plate and directs the strings through the top plate and toward the back.
 ( 201 ) 4-Dec-2015
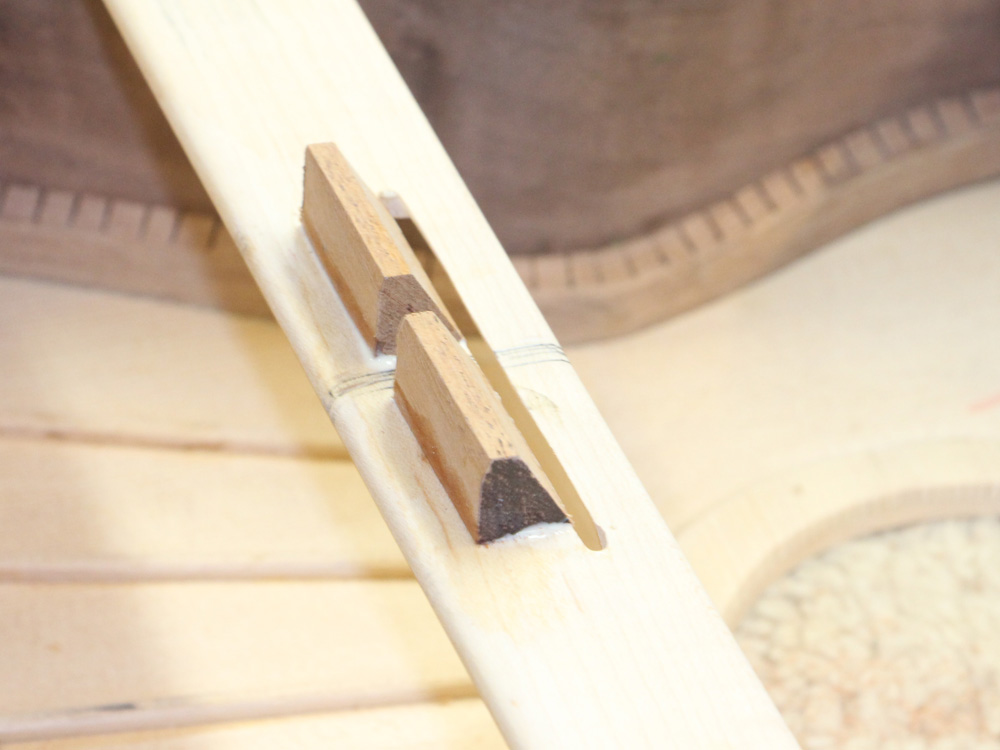
A look at the guide blocks on the top side. These aren't quite finished yet.
 ( 202 ) 4-Dec-2015
With the positioning carefully chosen and a couple of holes routed in the top, the sympathetic strings will only touch the top at their saddle.
 ( 203 ) 4-Dec-2015
 ( 204 ) 4-Dec-2015
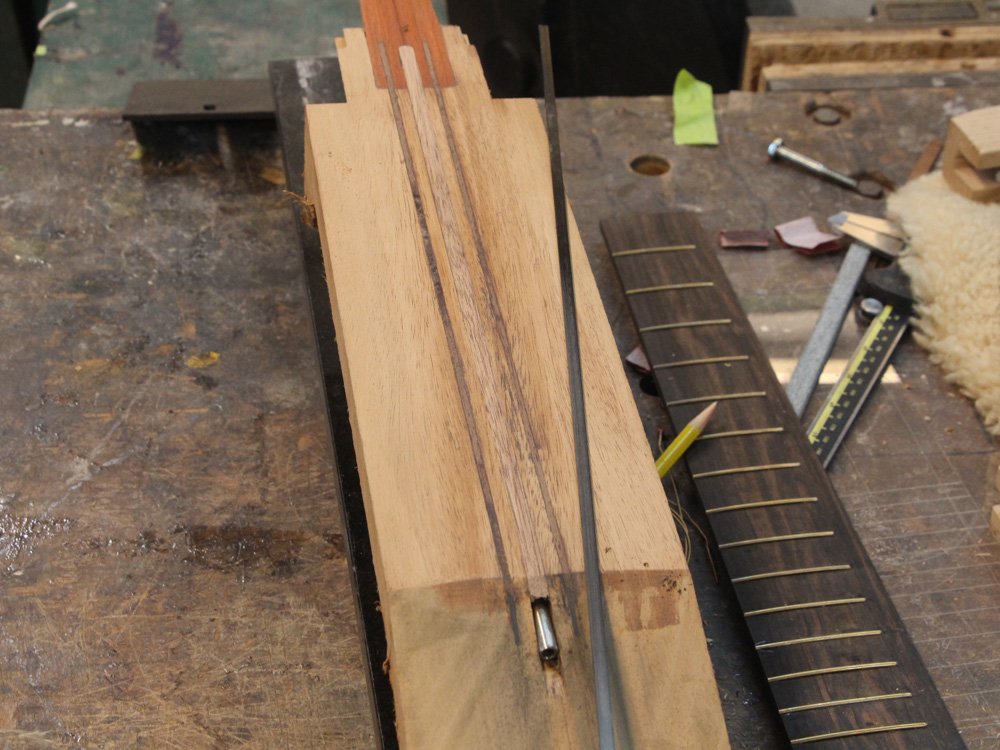
I have installed two carbon fiber strips in the neck to help resist the 300ish lbf of string tension.
 ( 205 ) 4-Dec-2015
Here I am gluing on the head plate.
 ( 206 ) 4-Dec-2015
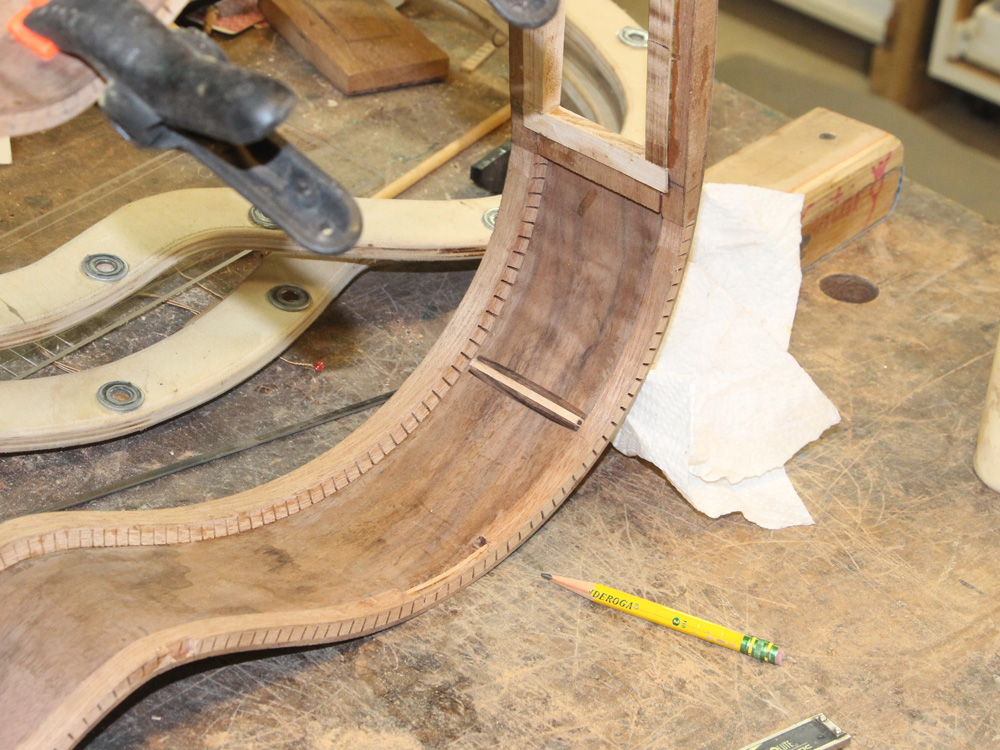
And then I install vertical strips on the rim. These will help prevent splits in the side when you abuse the guitar.
 ( 207 ) 4-Dec-2015
No one ever drops their guitar do they?
 ( 208 ) 4-Dec-2015
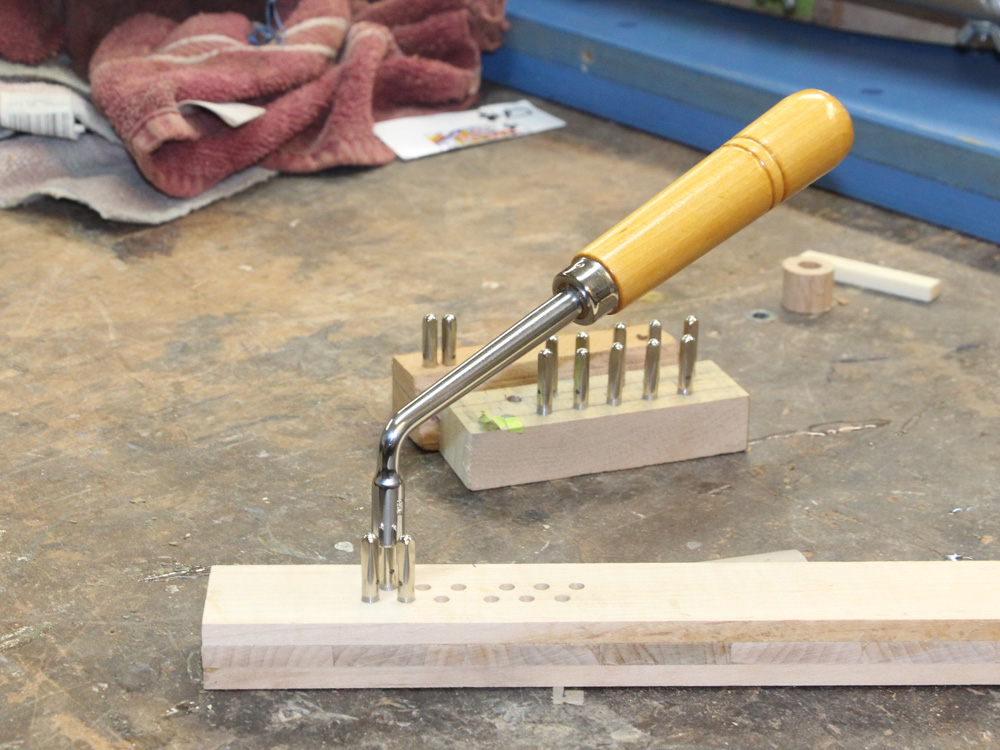
After a couple of test blocks I drill holes and install the zither pins in the maple laminate. The laminate structure will help prevent splitting caused by the pins.
 ( 209 ) 4-Dec-2015
These are carefully positioned so the strings will line up with the channel in the fret board.
 ( 210 ) 4-Dec-2015
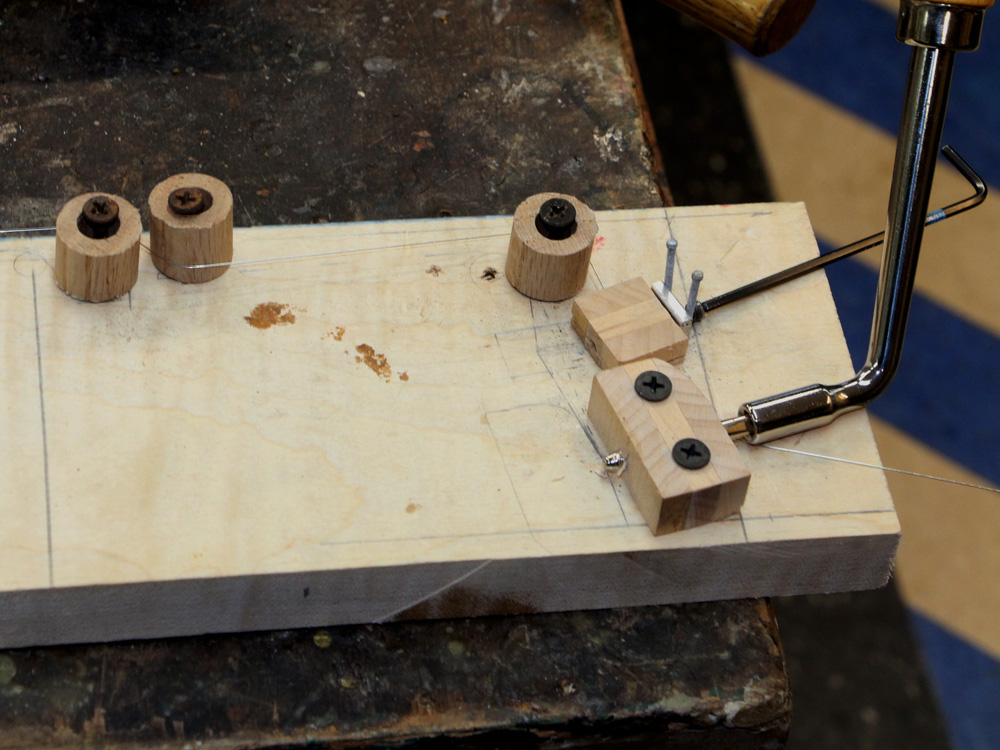
Finally, before I put everything together I decided to build a test bed to make sure sympathetic string support and tuning system really works. In this picture the 0.012” string extents off to the left 25 inches or so. The first two rollers from the left model the support and guide that will reside under the bridge. The next roller redirects the string towards the back of the guitar. The string then passes through a guide block that keeps the string centered on the 4-40 bolt. This bolt will press on the string increasing or decreasing its tension and letting you micro-tune the string with a range of about 50 cents or greater. The string next encounters the zither pin that will let you gross tune the string.
 ( 211 ) 4-Dec-2015
The back side of the tuning mechanism.
 ( 212 ) 4-Dec-2015
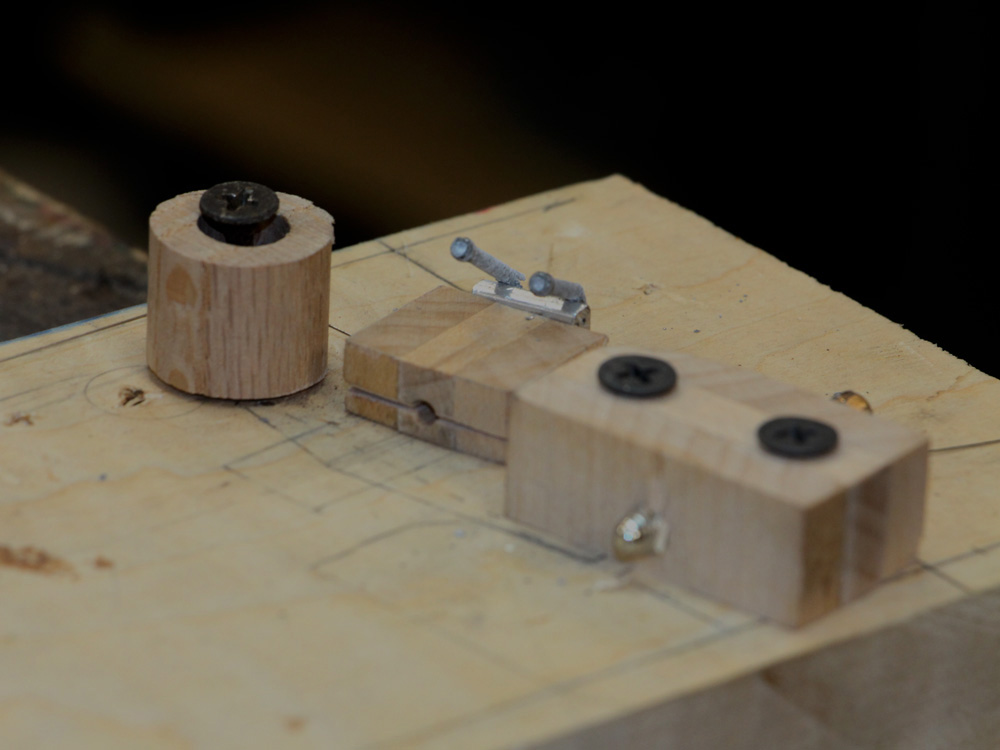
The front of the guide block. This block prevents the string from slipping off of the polished tip of the 4-40 bolt. It is a good thing I got cold feet and built this test board as it took a bit of fiddling around to get the micro-tuner to work just right. It was much easier to do this on a breadboard than in situ. I am feeling pretty good about it now.
Next up is to put it all together.